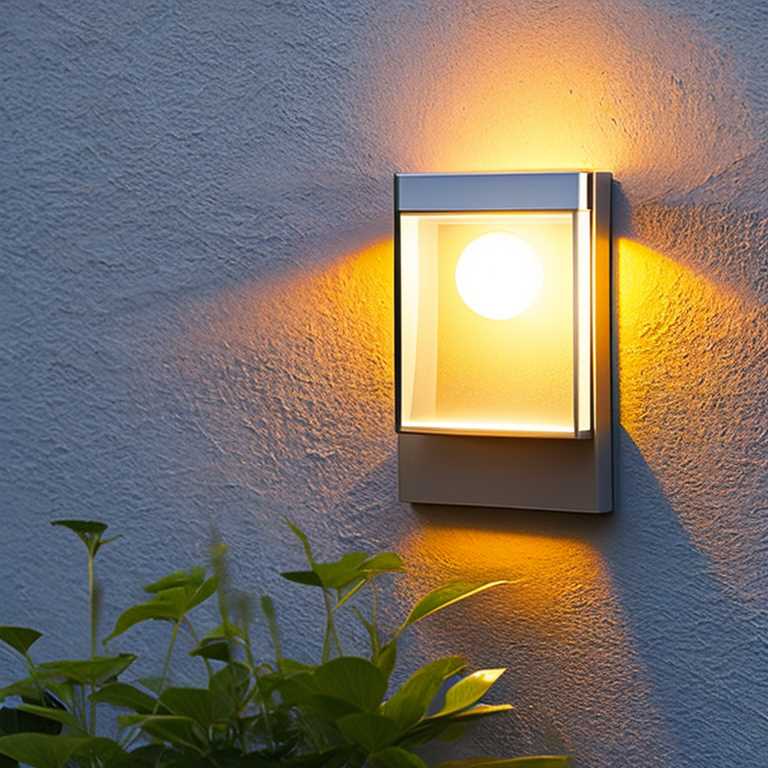
How to make solar light

Solar lights are a great way to light up your outdoor spaces while reducing your carbon footprint. They are easy to install and require minimal maintenance. In this article, we’ll show you how to make a solar light from scratch.
Materials Required
To make a solar light, you’ll need the following materials:
– A solar panel
– A rechargeable battery
– An LED light bulb
– A switch
– Wires
– A battery holder
– A housing for the light
Step 1: Choose your Solar Panel
The first step is to choose your solar panel. You can buy a solar panel online or from a local hardware store. Make sure to choose a solar panel with the appropriate wattage for the LED light bulb you plan to use. For example, a 3-watt LED bulb will require a solar panel with a minimum of 3 watts.
Step 2: Select a Rechargeable Battery
Next, select a rechargeable battery that matches the voltage of the solar panel. The battery will store the energy generated by the solar panel during the day and power the light at night.
Step 3: Choose your LED Light Bulb
Once you have your solar panel and battery, choose your LED light bulb. LEDs are energy-efficient and long-lasting, making them ideal for solar lighting. Select an LED bulb with the appropriate voltage for your battery.
Step 4: Wire the Components
Now it’s time to wire the components together. Connect the solar panel to the battery using wires. Make sure the positive and negative terminals are properly connected. Then, connect the LED bulb to the battery using wires. Again, make sure the positive and negative terminals are properly connected.
Step 5: Add a Switch
To turn the light on and off, add a switch between the battery and LED bulb. You can purchase a switch online or from a local hardware store.
Step 6: Install a Battery Holder
Next, install a battery holder to hold the rechargeable battery. The battery holder should be the appropriate size for the battery you have chosen.
Step 7: Choose a Housing for the Light
Choose a housing for the light. You can use a plastic container or a glass jar, depending on your preference. Make sure the housing is weather-resistant and allows the light to shine through.
Step 8: Assemble the Light
Now it’s time to assemble the light. Place the solar panel in a location where it will receive maximum sunlight during the day. Install the battery holder and switch in the housing. Then, connect the wires from the solar panel, battery, LED bulb, and switch. Place the LED bulb in the housing and secure it in place.
Step 9: Test the Light
Once the light is assembled, test it to make sure it works properly. Turn the switch on and place the light in a location where it will receive sunlight during the day. The solar panel will charge the battery, and the light will turn on automatically at night.
Making a solar light is an easy and rewarding DIY project. With a few simple components, you can create a sustainable source of light for your outdoor spaces. Remember to choose a solar panel, rechargeable battery, LED light bulb, switch, wires, battery holder, and housing for the light. Assemble the components, test the light, and enjoy your eco-friendly source of light.