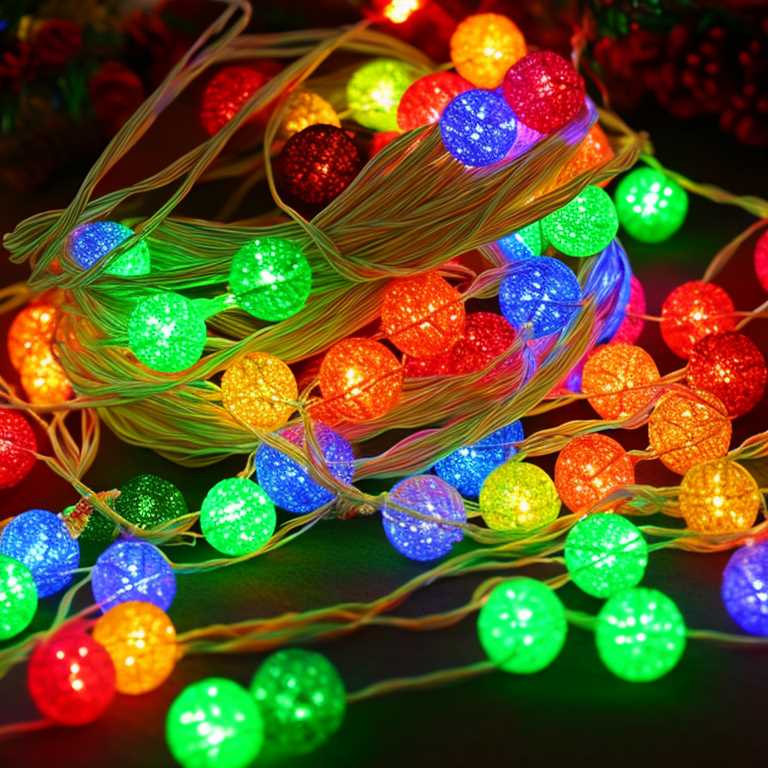
How to find bad bulb in christmas light string

Christmas lights have become a staple of the holiday season. They are the perfect way to add a festive touch to your home or office. However, there is nothing more frustrating than a string of lights that won't work because of a bad bulb. Finding the bad bulb in a Christmas light string can be a tedious task, but it is not impossible. In this article, we will discuss some tips and tricks for finding the bad bulb in a Christmas light string.
1. Check the Fuse
Before we get into finding the bad bulb, it is essential to check the fuse first. Most Christmas light strings come with a fuse that is located in the plug. If the fuse has blown, the lights will not work. So, the first thing you need to do is check the fuse. If the fuse has blown, replace it with a new one.
2. Inspect the Bulbs
After checking the fuse, the next step is to inspect the bulbs. Look for any bulbs that are discolored or broken. These are the most common signs of a bad bulb. If you find a bulb that is discolored or broken, replace it with a new one.
3. Use a Light Tester
If you can't find any discolored or broken bulbs, use a light tester. A light tester is a handy tool that allows you to test each bulb individually. To use a light tester, plug in the Christmas light string and place the tester on each bulb. If the tester lights up, the bulb is working correctly. If the tester doesn't light up, the bulb is bad, and you need to replace it.
4. Remove and Replace Bulbs
If you have identified a bad bulb, the next step is to remove and replace it. You can use a pair of needle-nose pliers to remove the bulb. Be careful not to break the bulb socket while removing the bulb. Once you have removed the bulb, replace it with a new one. Make sure the new bulb is the correct size and wattage for the light string.
5. Check the Bulb Sockets
If you have replaced the bad bulb but the lights still don't work, check the bulb sockets. Sometimes the bulb sockets can become corroded or damaged, preventing the bulbs from making a proper connection. Use a small brush or a cotton swab to clean the sockets. If the sockets are damaged, replace them with new ones.
6. Use a Voltage Tester
If you have checked the bulbs and sockets but still can't find the problem, use a voltage tester. A voltage tester is a tool that measures the voltage in a circuit. To use a voltage tester, plug in the Christmas light string and touch the tester to each bulb socket. If the tester lights up, the socket is getting power. If the tester doesn't light up, the socket is not getting power, and you need to check the wiring.
7. Check the Wiring
If the voltage tester doesn't light up, the problem may be with the wiring. Check the wiring for any signs of damage or wear. Look for any frayed wires or exposed wires. If you find any damaged wires, repair or replace them.
8. Use a Continuity Tester
If you have checked the wiring but still can't find the problem, use a continuity tester. A continuity tester is a tool that checks for a continuous electrical path in a circuit. To use a continuity tester, unplug the Christmas light string and touch the tester to each wire. If the tester lights up, the wire is continuous. If the tester doesn't light up, the wire is broken, and you need to repair or replace it.
9. Call a Professional
If you have tried all the above steps and still can't find the problem, it may be time to call a professional. A professional electrician can diagnose and repair any electrical problems in your Christmas light string. It may cost you some money, but it will save you time and frustration in the long run.
Finding a bad bulb in a Christmas light string can be a frustrating task, but it is not impossible. The above tips and tricks will help you identify and fix any problems with your Christmas lights. Remember, always be careful when working with electricity and take the necessary precautions to avoid injury. Happy decorating!